Plant Quick Guide
Growing Zones:
Mature Height:
Mature Width:
Sunlight:
Spacing:
Chill Hours:
Growth Rate:
Flower Color:
Harvest Time:
Years to Bear:
Pollinator:
Does Not Ship To:
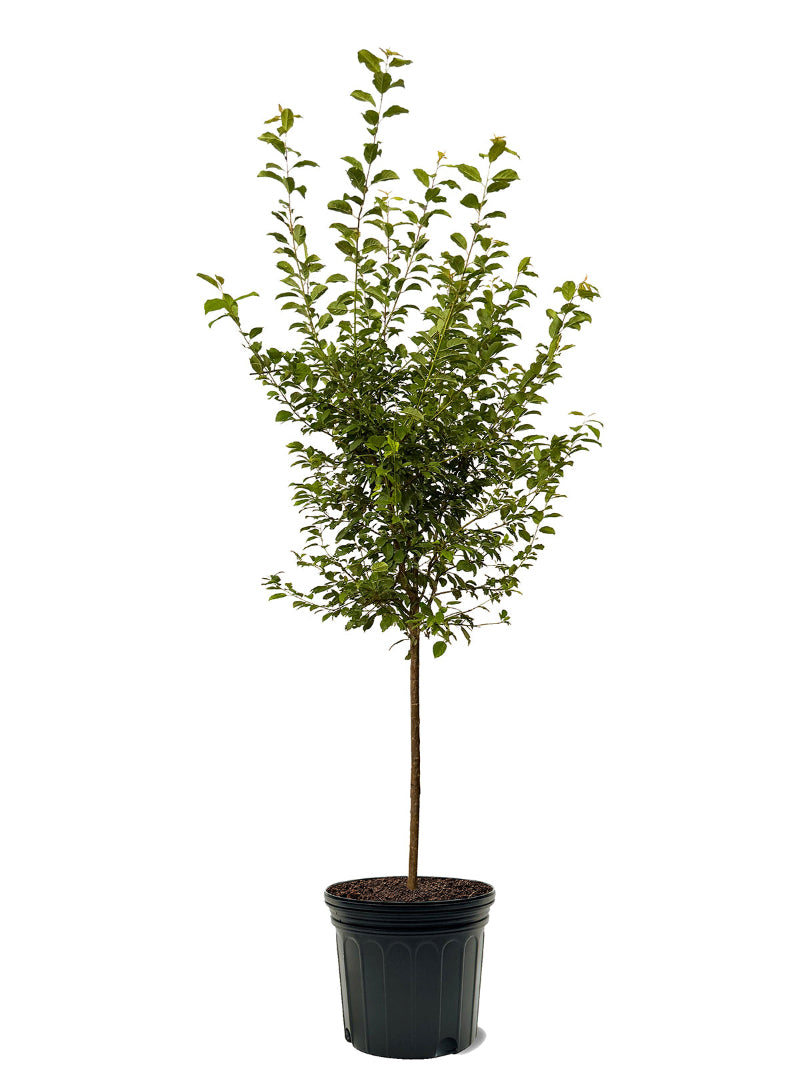
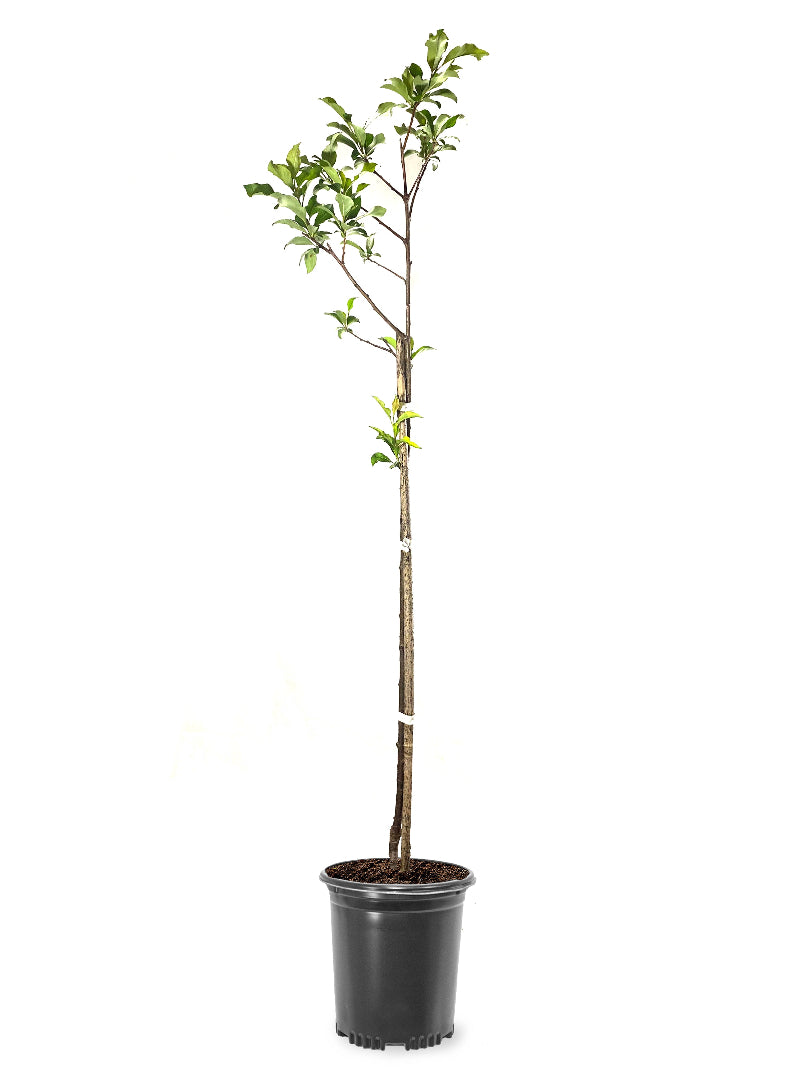
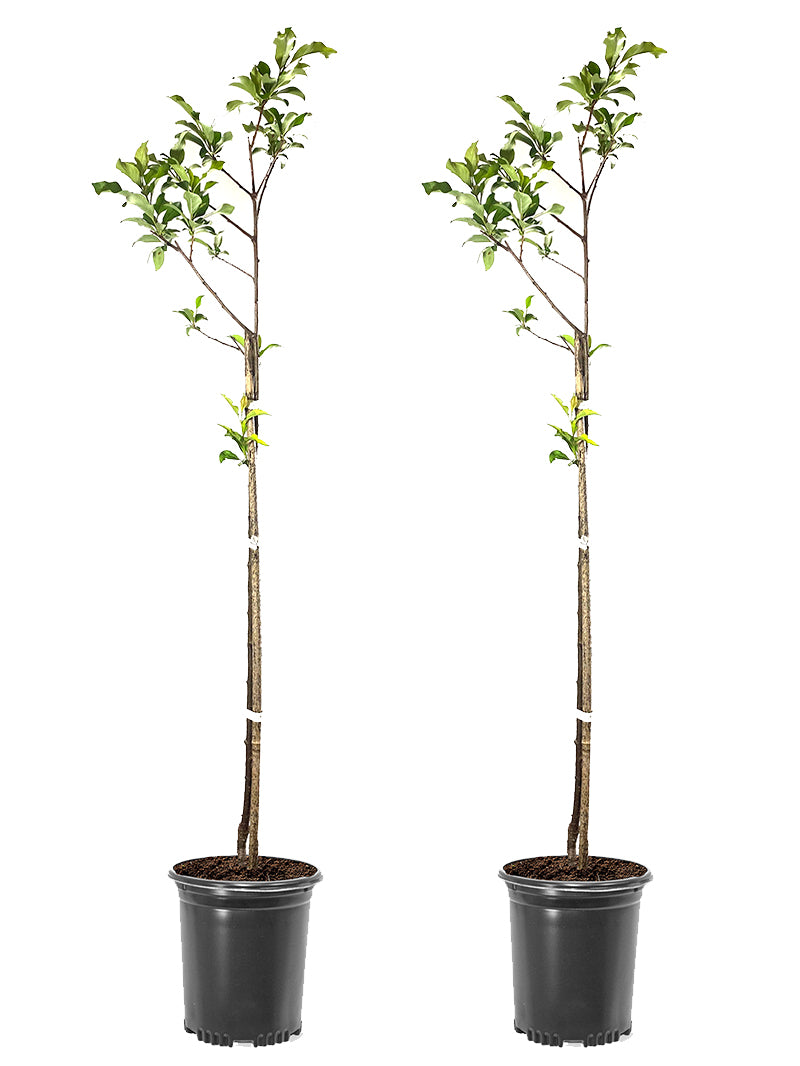
Plum Trees - Burbank
USDA Hardiness Zones: 5-9.
Description
The Burbank Plum is a time-tested favorite developed by famed horticulturist Luther Burbank. This Japanese plum variety is known for its large, round fruit with vibrant red skin and sweet, golden-yellow flesh. Juicy and flavorful, it’s ideal for fresh eating, canning, and baking. It ripens in mid- to late summer and is a reliable producer with good resistance to disease and cracking. The Burbank Plum also offers beautiful spring blooms, making it both ornamental and productive.
Key Features:
-
Sweet & Juicy Fruit: Golden-yellow flesh with rich, red skin—perfect for fresh eating or preserves.
-
Proven Variety: Developed by Luther Burbank; long trusted for taste and productivity.
-
Mid-Season Ripening: Harvests in mid- to late summer, producing generous yields.
-
Showy Spring Blooms: Adds ornamental value with clouds of white blossoms in spring.
-
Cross-Pollination Required: Needs another Japanese plum (like Santa Rosa) nearby for fruit set.
Mature Size:
-
Height: 12–18 feet
-
Spread: 18–20 feet
-
Growth Rate: Moderate
USDA Hardiness Zones:
-
Zones: 5–9
Care Instructions:
-
Sunlight: Thrives in full sun (6+ hours daily) for best fruit development.
-
Soil: Prefers well-drained, loamy soil with a pH between 6.0–7.0.
-
Watering: Keep soil evenly moist during establishment and fruiting season.
-
Pruning: Prune in late winter to maintain structure and encourage airflow.
-
Pollination: Requires a second Japanese plum variety for pollination and fruit set.
Landscape Uses:
-
Great for home orchards and edible landscapes
-
Adds beauty with spring blossoms and vibrant summer fruit
-
Produces sweet, versatile plums for fresh use or cooking
With its delicious flavor, attractive fruit, and dependable performance, the Burbank Plum is a standout addition to any backyard orchard.
Shipping

At Plant Me Green we handle, package and ship the products you order with the utmost care. We ship your plants using FedEx Ground® the following business day after you have completed checkout.
We are now offering $15 flat rate shipping for all tree orders! Replacement tree shipping cost will be $15 per box. We still cannot ship to some states and US territories based off the Agricultural Laws that may be in place. Please see below for all exclusions.
If you have any questions concerning transit time for your order, please feel free to contact us at info@plantmegreen.com or toll free 855-817-5268.
Trees: Due to strict Agricultural Laws in place, we currently cannot ship to the following states: Alaska, Arizona, California, Hawaii. We cannot ship to Puerto Rico or international.
How to Plant

STEP 2) Once you've located the perfect spot, the hole you are digging must be at least double the width and as deep as the root system you are planting.
STEP 3) Remove the plant from the pot and place the root ball in the hole. The top of the root system should be level with the ground. Before placing the tree or shrub in the hole, use your hands to gently break up the root system.
STEP 4) Once the plant is in place, backfill the hole with native soil and any leftover potting material.
STEP 5) Pack down the soil to eliminate any air pockets.
STEP 6) When finished, water thoroughly.
Care Guide


